設定 CI
簡介
Playwright 測試可以在任何 CI 提供者上執行。在本節中,我們涵蓋使用 GitHub Actions 在 GitHub 上執行測試。如果您想了解如何設定其他 CI 提供者,請查看我們的詳細持續整合文件。
您將學習
設定 GitHub Actions
要新增 GitHub Actions 檔案,首先建立 .github/workflows 資料夾,並在其中新增包含下方範例程式碼的 playwright.yml 檔案,以便在每次推送和向 main/master 分支發出拉取請求時執行測試.
name: Playwright Tests
on:
  push:
    branches: [ main, master ]
  pull_request:
    branches: [ main, master ]
jobs:
  test:
    timeout-minutes: 60
    runs-on: ubuntu-latest
    steps:
    - uses: actions/checkout@v4
    - uses: actions/setup-java@v3
      with:
        distribution: 'temurin'
        java-version: '17'
    - name: Build & Install
      run: mvn -B install -D skipTests --no-transfer-progress
    - name: Ensure browsers are installed
      run: mvn exec:java -e -D exec.mainClass=com.microsoft.playwright.CLI -D exec.args="install --with-deps"
    - name: 執行測試
      run: mvn test
To learn more about this, see "Understanding GitHub Actions".
查看 jobs.test.steps中的步驟清單,您可以看到工作流程執行這些步驟:
- 複製您的儲存庫
- 安裝語言相依套件
- 安裝專案相依套件並建構
- 安裝 Playwright 瀏覽器
- 執行測試
建立一個 Repo 並推送到 GitHub
Once you have your GitHub Actions workflow setup, then all you need to do is Create a repo on GitHub or push your code to an existing repository. Follow the instructions on GitHub and don't forget to initialize a git repository using the git init command so you can add, commit, and push your code.
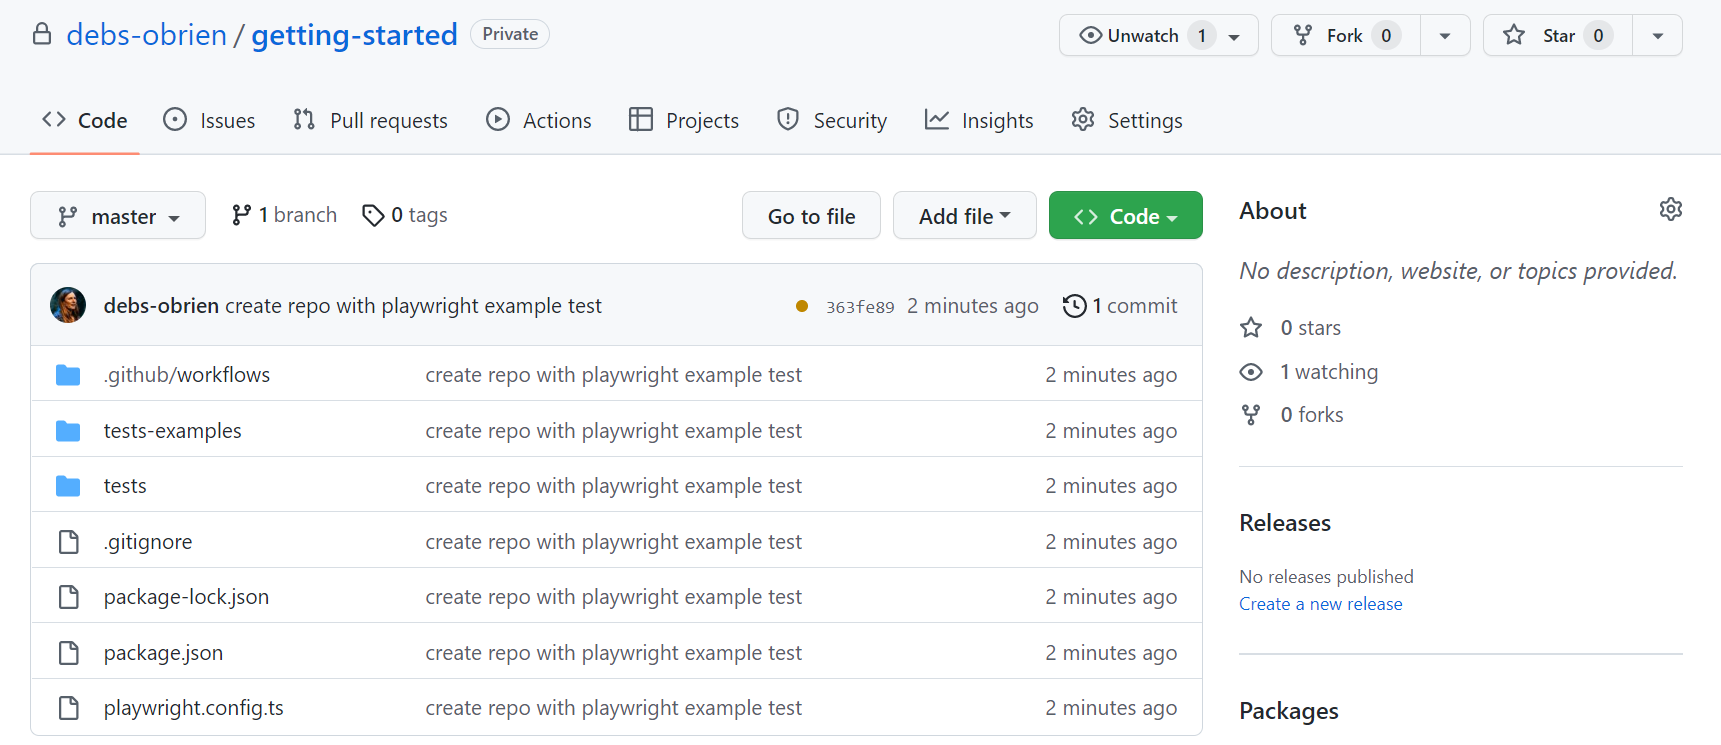
開啟工作流程
點擊 Actions 頁籤以查看工作流程。在這裡您將看到您的測試是否通過或失敗。
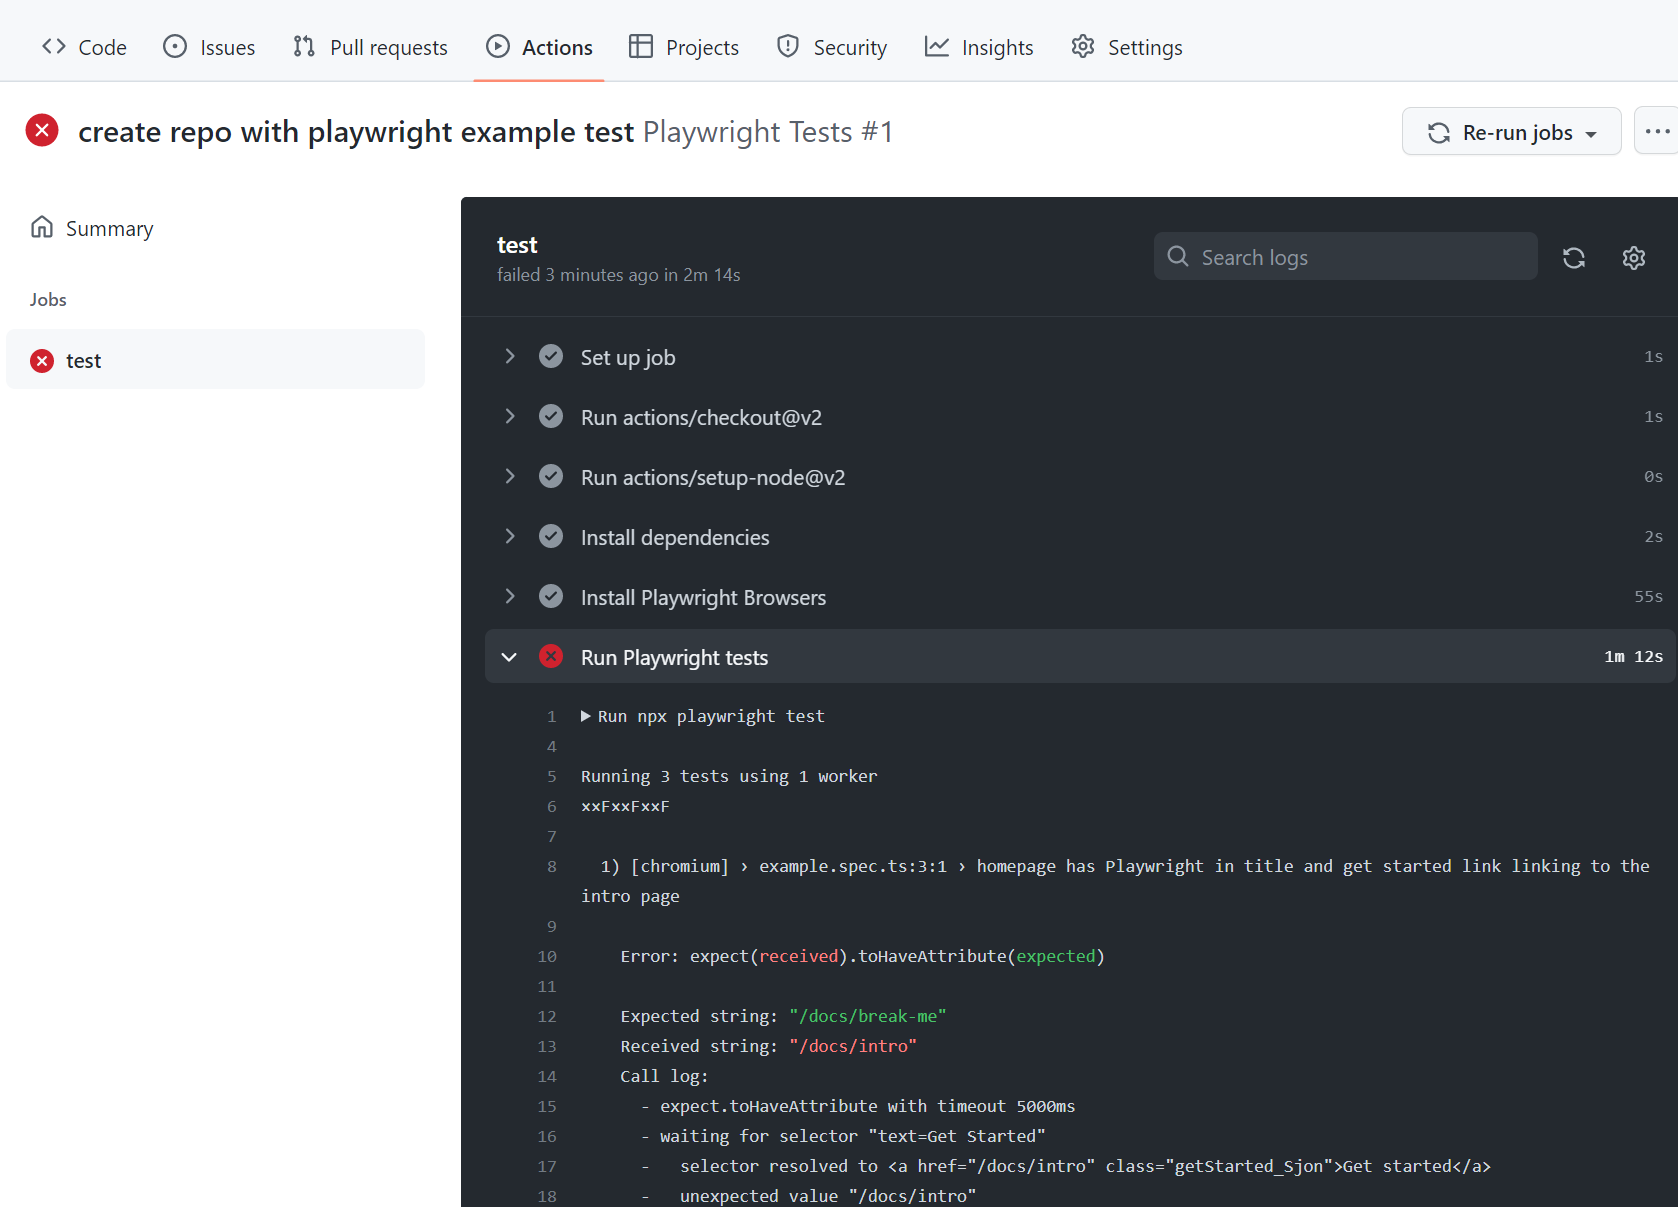
檢視測試日誌
點擊工作流程執行會顯示 GitHub 執行的所有動作,點擊 Run Playwright tests 會顯示錯誤訊息、預期內容和實際收到的內容以及呼叫日誌。
檢視追蹤
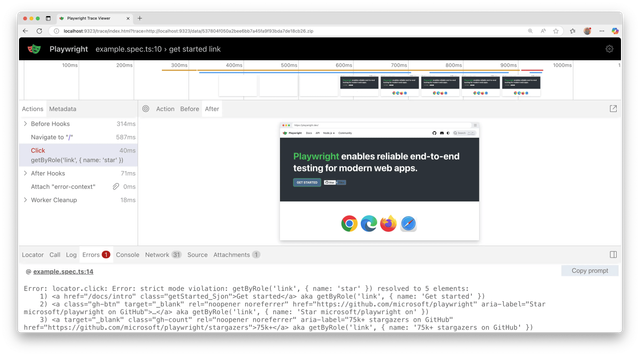
trace.playwright.dev 是追蹤檢視器的靜態託管版本。您可以使用拖放功能上傳追蹤檔案。
正確處理機密
像追蹤檔案或主控台日誌等產物包含關於您測試執行的資訊。它們可能包含敏感資料,例如測試使用者的用戶憑證、測試環境後端的存取權杖、測試原始碼,有時甚至是您的應用程式原始碼。請將這些檔案視為與那些敏感資料同等重要。如果您在 CI 工作流程中上傳報告和追蹤,請確保您只將它們上傳到可信任的產物儲存庫,或在上傳前加密檔案。與團隊成員分享產物時也是如此:使用可信任的檔案分享服務或在分享前加密檔案。